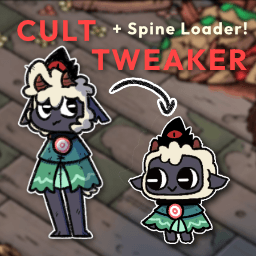
Custom follower forms
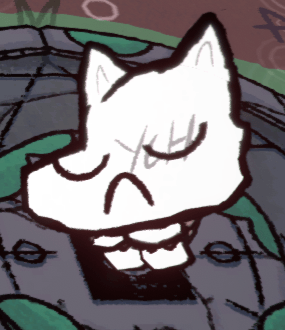
A follower form is a set of per-slot overrides layered over one of the game's own
follower base skins. Each override names a slot on the follower skeleton and
supplies an image, a placement and a list of colour choices. Forms live in
BepInEx/plugins/CultTweaker/FollowerSkins, one folder per skin, with a folder
per variant inside it.
Preparing followerSlots.json
followerSlots.json is an important part of building skins: it provides the
SlotIndex and PartName for each part you want to override.
Every major update of Cult of the Lamb may change the format of follower forms,
which means skins have to be updated to match the new format. To get the latest
slot list for an update, enable the DumpFollowerSpineAtlas config inside
BepInEx/config/InfernoDragon0.cotl.CustomSpineLoader.cfg. This generates
followerSlots.json for that particular update, written to
CultTweaker/followerSlots.json.
followerSlots.json is not already present before dumping, and turn
the setting back off afterwards - it may impact performance while enabled.Woolhaven's followerSlots.json is provided in the template's instruction
folder.
Folder layout
The provided template folder, ruffTemplateSkin, shows the folder structure of a
custom follower form, including how to set up the base and variant forms. Put the
folder into the CultTweaker plugin folder so that it reads
CultTweaker > FollowerSkins > ruffTemplateSkins, and the plugin will load the
forms into the game.
| CultTweaker.dll
| FollowerSkins
    | YourSkinName
        | base
            | head.png
            | config.json
        | variant
            | head.png
            | config.json
Inside each form folder you need:
- a
config.jsonfile - any number of image files for your parts
The image files should be separated as single sprites, not a spritesheet.
They can have any name, as long as you name them in the config.json.
config.json
Create a JSON file with partConfigs as the main key. Only SlotIndex and
PartName are required; everything else is optional.
{
    "overrideBaseSkin": "Cat",
    "partConfigs": {
        "part2": {
            "SlotIndex": 89,
            "PartName": "HEAD_SKIN_BTM",
            "scaleX": 1.0,
            "scaleY": 1.0,
            "rotation": -90.0,
            "offsetX": 0.0,
            "offsetY": 0.0,
            "colorChoices": ["#FF0000"],
        },
        "part1back": {
            "SlotIndex": 89,
            "PartName": "HEAD_SKIN_BTM_BACK",
            "colorChoices": ["#FF0000"]
        },
        "part2top": {
            "SlotIndex": 91,
            "PartName": "HEAD_SKIN_TOP",
            "colorChoices": ["#FF0000"]
        },
        "part1backtop": {
            "SlotIndex": 91,
            "PartName": "HEAD_SKIN_TOP_BACK",
            "colorChoices": ["#FF0000"]
        },
        "color_leg_left": {
            "SlotIndex": 48,
            "PartName": "LEG_LEFT_SKIN",
            "colorChoices": ["#0000FF"],
        },
        "color_leg_right": {
            "SlotIndex": 49,
            "PartName": "LEG_RIGHT_SKIN",
            "colorChoices": ["#0000FF"]
        }
    }
}
In this example part2.png is applied to slot 89 at HEAD_SKIN_BTM, and
part1back.png is applied to slot 89 at HEAD_SKIN_BTM_BACK.
Top-level fields
| Field | Type | Default | Description |
|---|---|---|---|
overrideBaseSkin | string | Cat | The base skin the custom skin is applied over. |
partConfigs | object | — | The parts you want to override, keyed by name. |
Each key in partConfigs (such as part2) can be any name. If it matches an
image file name in the same folder, that image is used for the SlotIndex /
PartName specified in it. Each partConfig is named after the image file
without the extension: part2.png = part2.
The image file is optional. A key with no image lets you override just the
slot's colours, like color_leg_left above.
Part fields
| Field | Type | Default | Description |
|---|---|---|---|
SlotIndex | int | — | Required. Which slot to override. Found in followerSlots.json. |
PartName | string | — | Required. The attachment name on that slot. Found in followerSlots.json. |
ScaleX | float | 1 | Increases or decreases the width of that part. |
ScaleY | float | 1 | Increases or decreases the height of that part. |
Rotation | float | -90 | Rotates the part. |
OffsetX | float | 0 | Moves the part away from the centre point horizontally. |
OffsetY | float | 0 | Moves the part away from the centre point vertically. |
HideSlot | bool | false | Hides that slot entirely. |
ColorChoices | string array | white | The colours to choose from when indoctrinating. |
Field names are matched case-insensitively, which is why the example above mixes
SlotIndex with scaleX.
colorChoices must have the same length for every partConfig. If the counts do
not match, the skin will not be added to the game.The follower skin editor (F8)
Press F8 anywhere in the game except the title screen. The editor edits the
same FollowerSkins/ folders the mod loads, so there is no separate project
format.
The left panel picks which skin and variant you are editing (and starts new ones), the colour set, the base skin every layer sits on (Cat, Dog and so on), an outfit for the preview to wear (just for looking - it is not part of the skin), the animation the preview plays, and the list of layers: pick a slot to override it, then click a layer to work on it.
The right panel is that layer - its slot, the image covering it, whether it is hidden, its placement, and its colour for the set you are editing.
Names are written as skin/variant, so one prompt makes either a new variant of
a skin you have or a whole new skin. Ctrl+S saves, and saving makes the skin
wearable straight away: it rebuilds the skin for the game, which pauses for a
moment. Drop PNGs into the variant's folder and they show up in the image picker.
Adding a colour set is an entry at the top of the Colour set list, like new skins and new layers.
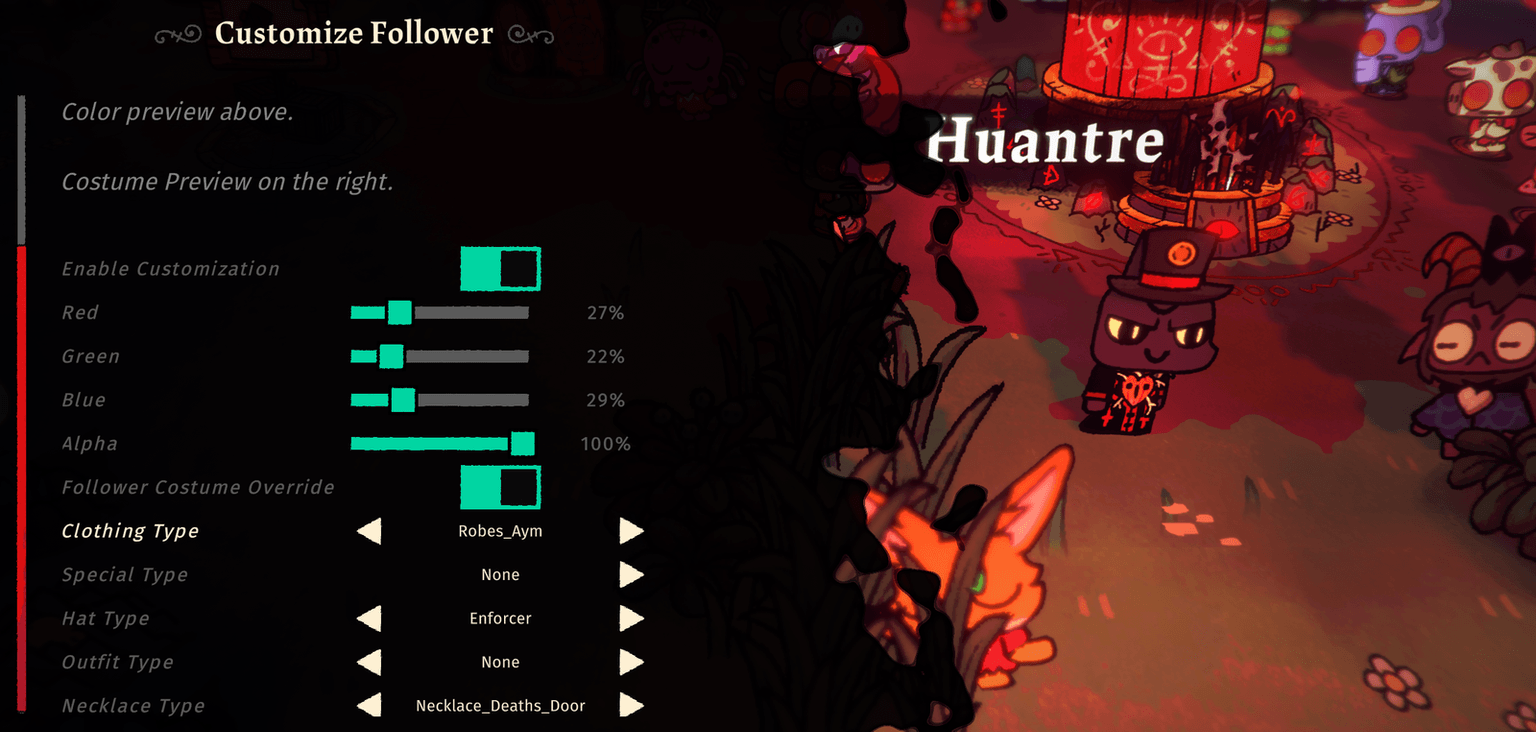
Custom follower forms can only be selected during indoctrination. For the rest of follower customisation - colour (R, G, B, A) and what they wear - you must toggle Enable Customization for the costume override to take effect.
Migrating from JSONLoader
- Instead of a spritesheet with all of the sprites in one image, you must separate them into single sprites.
- The JSON config file differs in the following ways:
- The JSON file should be named
config.json, and be in the folder together with the skin. colorsandoverridesare both combined aspartConfig.nameis nowpartNameandslotIndex.rectis not needed; it will automatically use the sprite size.
- The JSON file should be named
The follower skin builder does this conversion for you: import a JSONLoader skin and it produces the CultTweaker part configs, then previews them live.